How to Diagnose and Repair a Leaking Radiator Step by Step
November 28, 2024A leaking radiator can lead to serious engine problems if not dealt with promptly. Overheating can cause a lot of damage to your vehicle, so it’s important to identify and repair any leaks as soon as possible. In this guide, I will walk you through the steps to diagnose and fix a leaking radiator effectively.
Step 1: Identify the Symptoms of a Leaking Radiator
The first step in dealing with a leaking radiator is recognizing the symptoms. Common signs include:
- Regular overheating of the engine
- Puddles of coolant under your vehicle
- Low coolant levels in the reservoir
- Steam coming from the engine area
If you notice any of these symptoms, it’s time to investigate further. Regularly checking your coolant levels can help you catch leaks early.
Step 2: Safety First
Before you start working on your radiator, make sure you take the necessary safety precautions. Always allow your engine to cool down completely before opening the radiator cap. Wear gloves and safety goggles to protect yourself from hot coolant and debris.
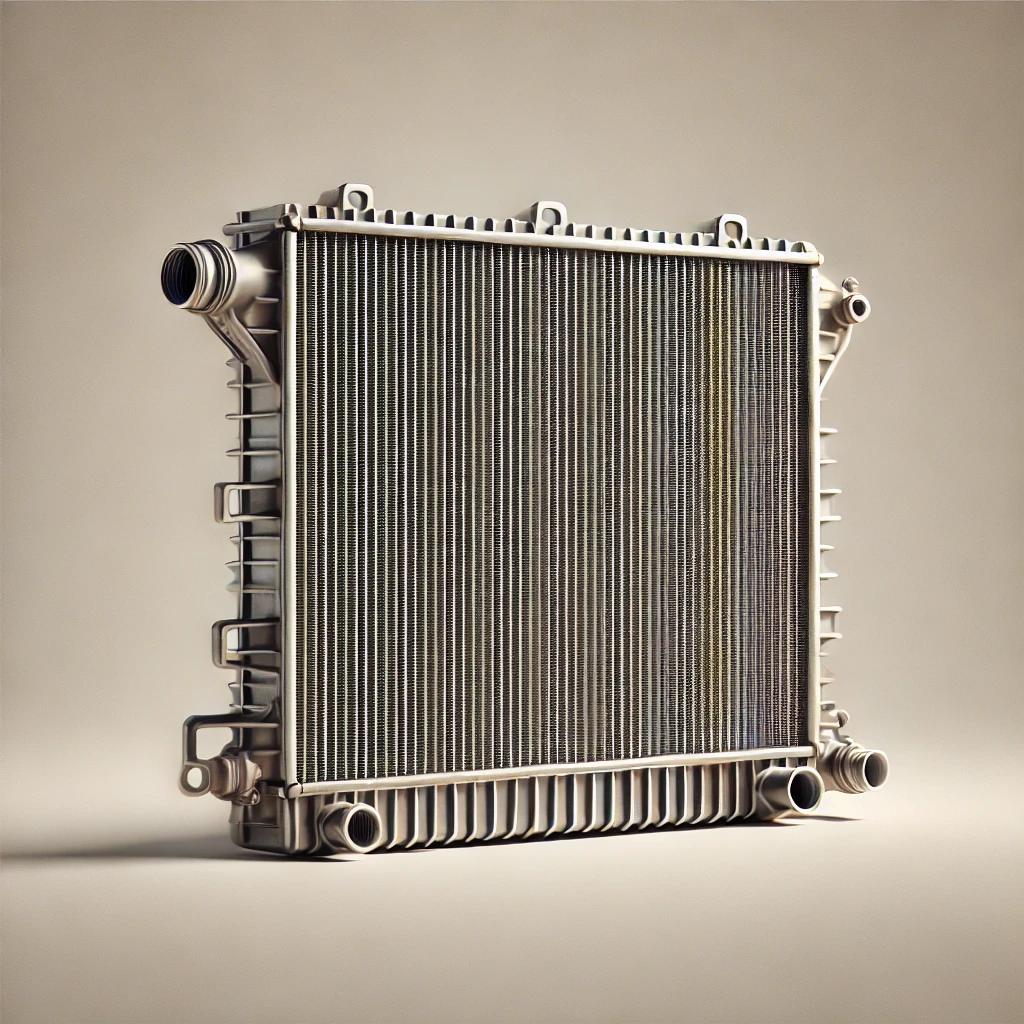
Step 3: Inspect the Radiator
With safety gear on, open the hood and visually inspect the radiator. Look for any signs of damage, such as:
- Corrosion or rust
- Cracks or holes
- Loose or damaged hoses
Pay special attention to the seams and connections, because these areas are often prone to leaks. If you can’t find any visible leaks, maybe try using a pressure tester to pressurize the system and find where the leak is coming from.
Step 4: Perform a Pressure Test
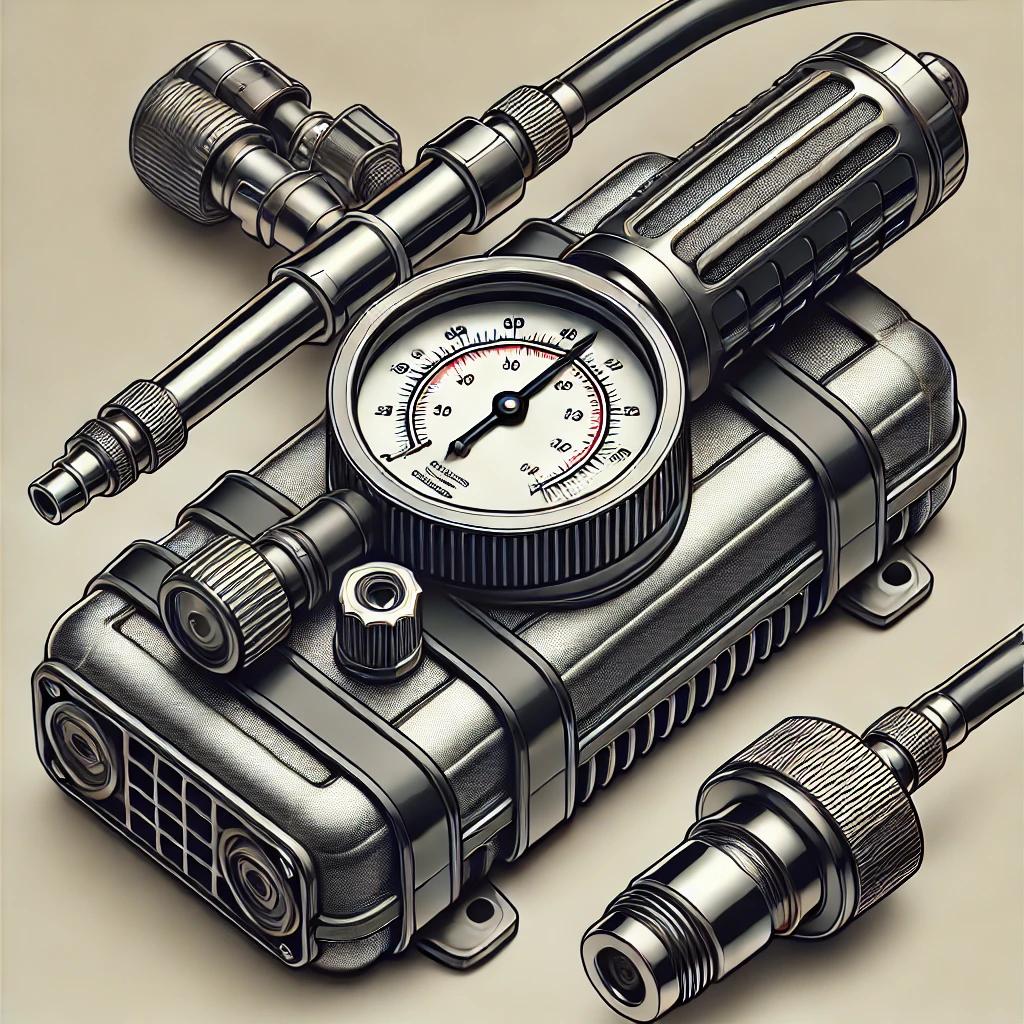
A pressure test can help you find leaks that aren’t visible. You can rent or buy a radiator pressure tester from an auto parts store. Follow these steps:
- Remove the radiator cap.
- Attach the pressure tester to the radiator neck.
- Pump the tester to the recommended pressure (usually around 15-20 psi).
- Loop for any drops in pressure or visible leaks.
If you find a leak, mark the area for repair.
Step 5: Repairing the Leak
Depending on how bad the leak is, you have a few options for repair:
- Epoxy or Sealant: For small cracks, a high-temperature epoxy or radiator sealant can work well. Clean the area well, apply the sealant, and let it cure as per the manufacturer’s instructions.
- Replacing Hose or Fittings: If the leak is coming from a hose or fitting, simply replacing the damaged part can fix the issue.
- Radiator Replacement: For larger leaks or really bad damage, replacing the radiator may be necessary. This is a more in-depth process and you may need professional assistance.
Step 6: Refill Coolant and Test
After you’ve done the repair, it’s time to refill the coolant. Use a mixture of coolant and water as recommended by your vehicle’s manufacturer. Fill the radiator and reservoir to the right levels.
Start your engine and let it run for a few minutes. Keep an eye on the repaired area for any signs of leaking and watch the temperature gauge to make sure the engine is not overheating.
Step 7: Regular Maintenance
To prevent leaks in the future, do regular maintenance of your cooling system. This includes:
- Flushing the radiator every couple of years
- Checking hoses and connections for wear
- Regularly inspecting coolant levels
For more tips on car maintenance, visit Car Talk.
Conclusion
Finding and repairing a leaking radiator is a crucial skill for any car owner. By following these steps, you can easily handle leaks and maintain your vehicle’s cooling system. Always keep safety in mind and don’t hesitate to get professional help if needed. For more resources on car repairs, check out AAA Auto Repair.